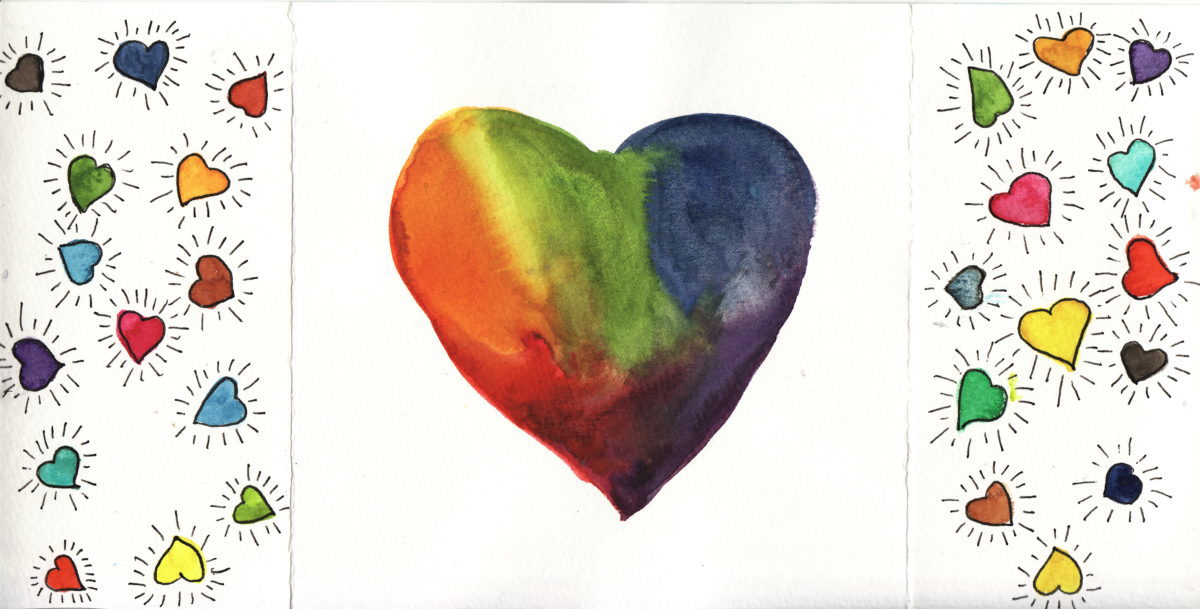
I made a Valentine’s card. Well, that was a few days ago, because Scott mentioned something about being in each other’s heart and I had to sketch that.

Then I decided to create a high experimental triple pamphlet, because why not? It was not a full success, but as a first attempt I’m just so impressed that it worked. I don’t know yet if it’s a sturdy construction, although it seems so.
[What follows is a comment I wrote for Roz Stendahl’s Pamphlet binding class. Roz givers very detailed instructions on how to create a simple and a double pamphlet in this class, and if you are interested you should check her class out, because it’s free and very good. The class gives a very nice and practical overview of foundational concept in bookbinding such as cutting paper, folding signatures following the paper grain, punching holes, stitching, and so on [Sign up here].

OK, more about the experimental three-signature pamphlet.
The good:
- it has lots of pages with a very simple and quick process that requires no glueing.
- it lies flat when opened.
The not so good:
- the folds are not as aligned as they should be (I messed up!)
- the pages tend to spread apart when the pamphlet is closed. Probably this construction works better with thinner paper, but I used thick watercolor paper for this one.
Why would you do such a thing?
I couldn’t help myself. I was curious to see if it was possible. I made a very simple prototype and it seemed that it could be done, so I had to try it out.
How I did it
Unless you already know how to create a single and double pamphlet, you should first look at Roz’s class to learn how to cut the material and to sew the signatures. This making of the three-signature pamphlet includes both a single and a double pamphlet stitching (single for the central signature and double for the two external signatures).
- I created 3 signatures each of 4 sheets of watercolor paper, as Roz showed in the class. In hindsight, a thinner paper would have worked better.
- I cut the cover as for the double pamphlet but I increased the horizontal length of the cover to accommodate a second tab.
- I first folded the cover in half (with the external side of the cover outside), then I created the two tabs
- Optional step: I also reinforced the front and back cover by glueing a thicker cardstock to the inside of the front and back cover, except for the area that would fold in the tabs. I’m not sure that this was a good idea, and it might have contributed to the tendency of the pamphlet to spread open.
- I sewed first the signature in the middle, as one would do for a simple pamphlet, starting with the thread on the outside of the book. The last stitch was in the central hole of the signature from the inside of the signature to the outside of the cover.
- I then inserted the needle (that at that point was on the outside of the cover) in the center hole of the last signature. The needle was now inside that signature.
- I opened the back and front signatures (or third and first if you prefer) as you would do when stitching a double pamphlet. Note that first/front signature did not get a stitch in the central hole until the end.
- I proceeded to sew the front and back signatures as one would do for a double pamphlet. The last stitch was from the center of the front/first signature to the outside of the cover.
- I tied the beginning and end of the thread with a double knot.
- The End!
Now need to go to sketch the no plastic/no roses flowers that my husband brought home!